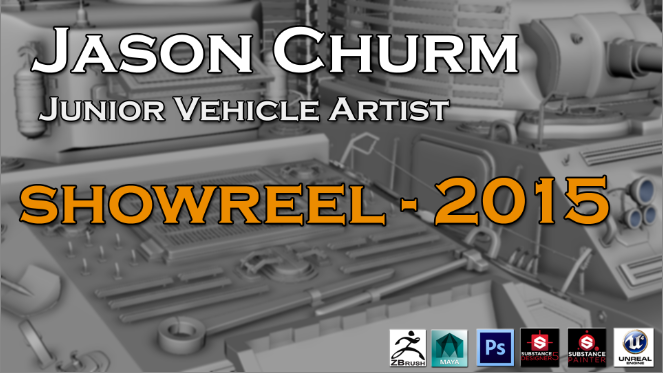
To start, I needed a splash screen. Originally this was going to be placed on an asset in my first matinee but this gave me too many limitations. As i said in the first few PPD posts, it would be great but only really works reliably for an environmental artist as I want the viewer fixated on the vehicle, not the supporting scene around it. So with all this considered, I created a minimalist intro, showing my name, the purpose of the video and icons for the software suites used, attempting to capture the colour and font choice from my website design.
The main font choices being "Copperplate Gothic Bold" for main headings and "verdana" for sub information. To add a little more mystery to this, I took the high poly tank model i created last year, organized a nice scene, took a 1080p screen grab and slightly blued it in Photoshop. I found from most of the showreels in my research that the background of the intro screen should not contain anything overwhelming that could distract the viewer from the text.
I feel like the blur has done quite nicely here. On top of this, I ensured that the software used included all those that would be required for a vehicle artist, bar Quixel as I don't want to give any impression that the texture work was automatically generated. These icons do appear on the website design throughout to ensure that all future software bases will be covered.
Originally, I hadn't included the Zbrush icon on the start and end splash screens as it wasn't technically used but by displaying it alongside the rest of the software packages, I can show a wide range of employable skills. On top of this, i added an inner bevel and large drop shadow behind each piece of text. This ended up looking rather tacky and was removed.
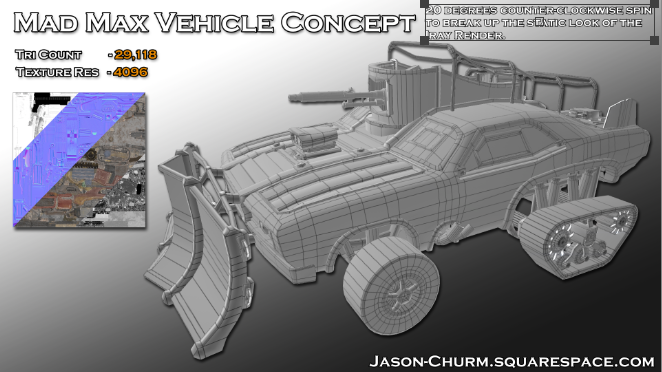
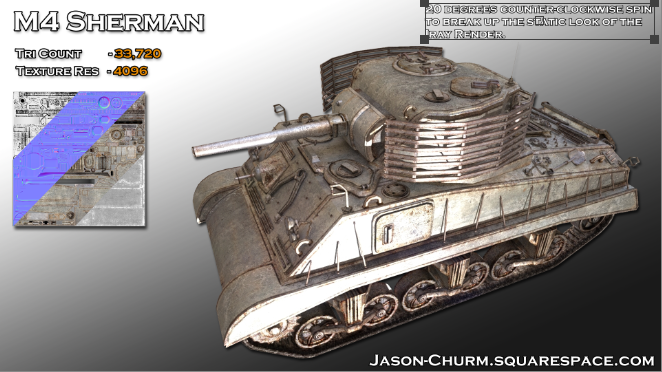
This could then transition using a side swipe to the vehicle showcase. For each of these assets, I created an asset template, displaying the vehicles name, tri count, texture resolution and a small cross section of the maps used. A portfolio link in the bottom right throughout to give a point of contact and room for a larger render of the vehicle in the center right. I rendered the vehicle out first as a wireframe before fading in to an exact copy of the slide but with an I-ray render instead. This allows me to slowly transition from one to the other without changing the point of focus. With all of these vehicle starting slides, I want to have the vehicles slowly rotating counter-clockwise by 20 degrees but being I-ray i couldn't find how to create anything more than screenshots. Either way, this slide shows all the information that a possible employer way wish to see when judging an artists work.
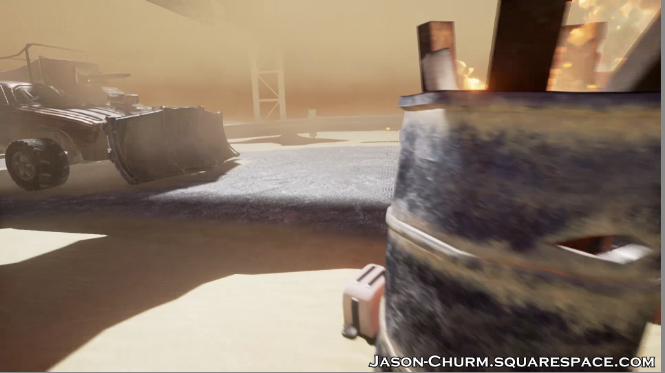
The slide then fades in to the A3D matinee renders, taking the rule of thirds and basic composition in to consideration, starting with the barrel asset to the right of the camera, vehicle to the left and sandstorm slowly moving in from the center. It ensures that there is always something to catch the user's eye, quickly transitioning from barrel to vehicle.
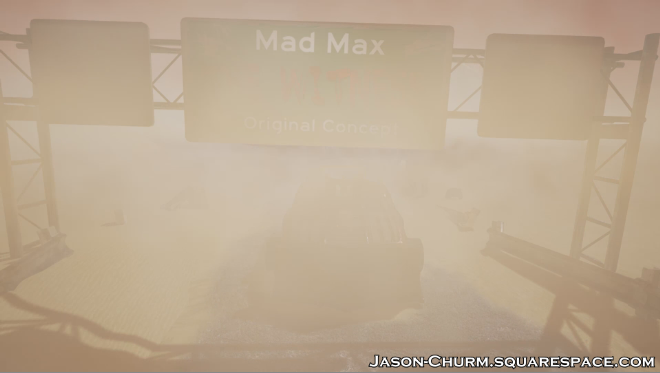
With each of these vehicle matinee renders, I tried to focus on four 5-10 second cameras, firstly showing a zoom in to the vehicle, before a side view which could then transition to any point of interest such as the MadMax gun before zooming outwards. Using simple fades between matinee cameras and having the sand-storm slowly roll in (as covered extensively in the A3D blog), I could have the sun and slighting slowly drop until the final outwards pan with sand slowly overtaking the camera view, making for a very nice and natural transition.
The same I-ray showcase and template was used for the tank to ensure the composition would stay the same and avoid confusing the viewer. I had been asked a few times why I didn't include a spin but I honestly didn't see it as being very ascetically pleasing although after talking to Jamie about the subject, he gave me a full run-down on what to add to the reel to make it employable. He told me the importance of simple May mesh turn-tables/ spins as a serious employer would not be all to interested in the post production and glamour, they would need to see evidence of modelling strength/ the geometry and both texturing/ UV'ing ability in greater detail. This will be factored in later iterations but will primarily be covered in the following blog post/ the final sign-off.
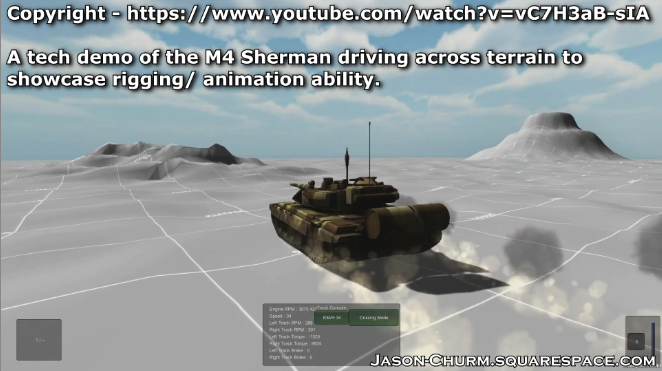
As this is simply a static asset with no animation, I placed it in a basic UE4 scene to set up the rough matinee sequence, following the same camera principles as the Mad Max vehicle but still wished to add some motion to this scene. To give a good understanding of how I wished to have it displayed, I found a tech-demo of an M$ Sherman driving across terrain, labeled this as a showcase for rigging/ animation ability and made certain to add the copyright link. Seeing this prior to the basic matinee sequence allows you to visualize the artistic vision even with the scene being static.
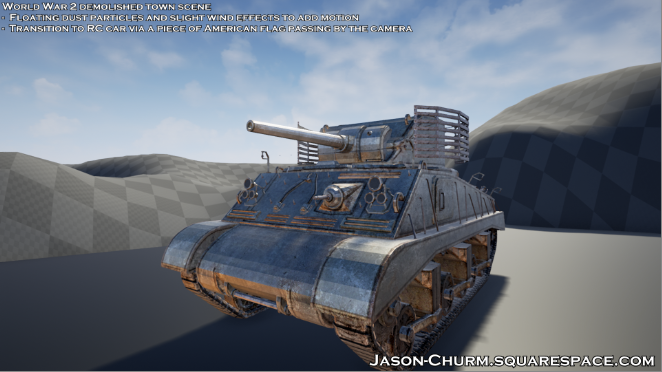
For the final two vehicles, I was unable to create an environment for them in time but managed to get around this by putting simple bullet-points in the top left corner to explain the scene and transition. To add motion to the scene, I wanted to add floating dust particles and slight wind effects. Transition wise, I wanted to leave the final camera pan with a piece of charred American flag passing the camera which could lead to a very nice transition to the final vehicle; the RC car.
I found that this methodology was mostly found in VFX showcases but when done right, turned the reel from an individual showcase to what could be interpreted as more of a short movie. Originally I did want to add basic motion blur to the background as the pans crossed both the tank and RC car models but this proved far too difficult with random areas of the vehicles bluring at random matinee points, only showing this broken effect when physically rendering out.
The exact same format from the tank was then used for the RC car with only minor variations. Instead of viewing the I-ray renders from the same front angle, they were taken from the rear as this is where the vast majority of the model details were located. Once again with the model being static, I found a great cinematic of RC cars driving through the sand that i would like to imitate. Focusing on two main shots of the RC cars drifting, the scenes have perfect competition with even areas such as the bridge and terrain following the path/ curve of the vehicle. The transition between them via dirt being kicked up from the drifts is also a fantastic idea that I hope to capture once I have time to animate the asset.
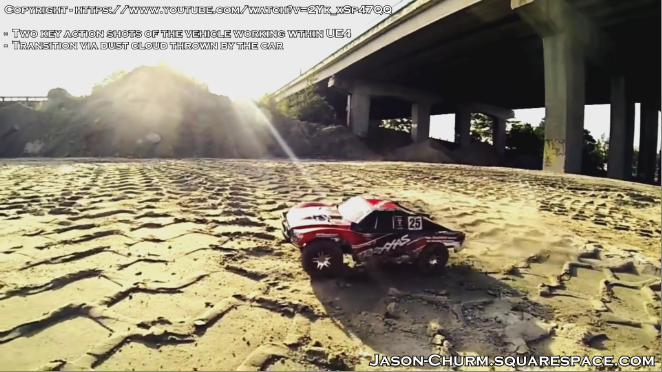
With the RC car being my weakest asset out of the lot, I reduced it from the four camera pan template down to three, starting with a zoom in of the bonnet, transitioning to a slow pan from front wheel to back and the final one, zooming out from the rear turbine. With it being such an awkward object to showcase, I attempted to follow the golden ratio with composition for the final outwards pan and tried to focus the camera work so the center focus point at the start of each pan was directly on the asset. A sweeping motion past the asset would work nicely if it had an environment to benefit it but in this case, I had far less to work with.
Direction wise, I wanted to have the vehicle transition from the realistic drifting animations to a display case in an RC model shop, zooming out to the silhouette of a child to imply the first animated scene was a figment of the child's imagination. With flickering lights and dust particles to add further atmosphere, the scene would transition via someone walking by the case, close enough to the camera to block it out, making full use of the footstep sounds as the character gets closer.
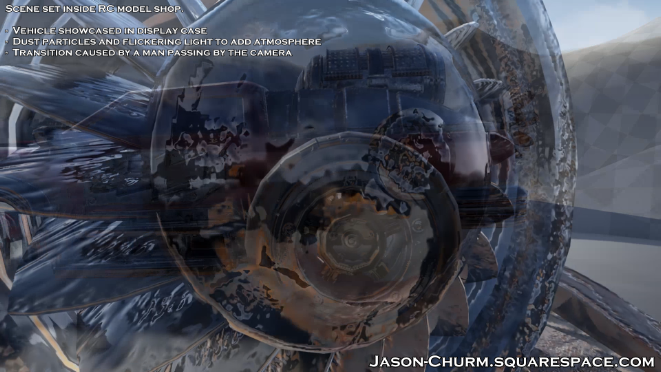
This would then function as a right to left side swipe transition, displaying the final splash screen, displaying all the starting information alongside contact details. As an added touch and to try and show the care put in to this, the background image has also been reversed to point in the same direction as the transition.
I found that most the the top tier show-reels tried to focus on their very specific colour scheme, usually white, black or grey with the addition of one colour to add some warmth to the spectrum.
Now the music choice. This was by far the hardest part of the show-reel creation as almost every established artist paid to have music composed specifically for their reel. To start with, I used quite a depressing silent hill remix as you'll see in the comparison below because even though it didn't turn out being the happiest music in the world, it fit each transition perfectly and was just earey enough to set the mad max vehicle and tank theme.
The major issue with this song is that it began to transition to a much darker theme at the 1 minute mark which made it very unfitting for the RC car. Even the ending transition worked perfectly, fading off to a simple percussion beat as the final slide presented itself. As well as it fit with transitions, its pacing seemed slightly off in comparison to the track "Siege Mentality" that I found as a replacement. All VFX and vehicle showreels i had reviewed prior used a soundtrack that would start slow and mysterious before moving towards a slightly faster paced, suspense style. This seems to work perfectly to capture the viewers attentions for the 1 minute 30 optimum video length. I simply wish I was able to find a song that captured the energy of "siege Mentality" but the timing of the Silent Hill remix track.
Overall, it left me with a perfectly usable backing track for the showreel that worked pretty nicely with the moderately fast paced camera transitions but for future iterations, I will attempt to commission the best of both worlds. Currently this is too expensive an option but should be entirely viable within the future,
First Iteration of the showreel;
Final Iteration of the showreel;
Overall, I have tried to incorporate the best features of each prior reviewed showreel and have managed to learn a lot from what didn't work, mainly the concept of having the vehicle information within the UE4 scene. When I have more experience/ time to create environments alongside the vehicle, this could be a great addition but was not possible to fully evaluate and test with the 12 week time requirement. I want to shy away from just doing the vehicles alone as creating a nice environment around them also opens up the possibility of environmental design which opens many more doors for a junior artist as proven by Danny Banister in the week 4 guest presentation.
He explained how within a large studio, you may need to be transitioned from vehicle to environment for some projects and having the knowledge available to do so will make you a much valuable employee, essentially giving you the ability to not only perform both rolls but also the knowledge to create environments and vehicle that compliment each other.

No comments:
Post a Comment